Transforming your Raspberry Pi into a portable computer opens up a world of possibilities. This compact yet powerful device can handle various tasks, from basic computing to complex projects. The process involves selecting the right model, gathering the necessary components, setting up the OS, and ensuring reliable power. This guide will walk you through each step to help you create a portable computing powerhouse with your Raspberry Pi.

Before diving into the setup process, it is crucial to select the appropriate Raspberry Pi model. The model you choose will significantly impact the computer's performance and capabilities. For a portable computer, the Raspberry Pi 4 Model B is highly recommended due to its superior processing power and ample RAM options. Alternatively, the Raspberry Pi 400 offers an integrated keyboard and robust performance, making it another suitable choice. Consider your specific needs and preferences when making this decision.
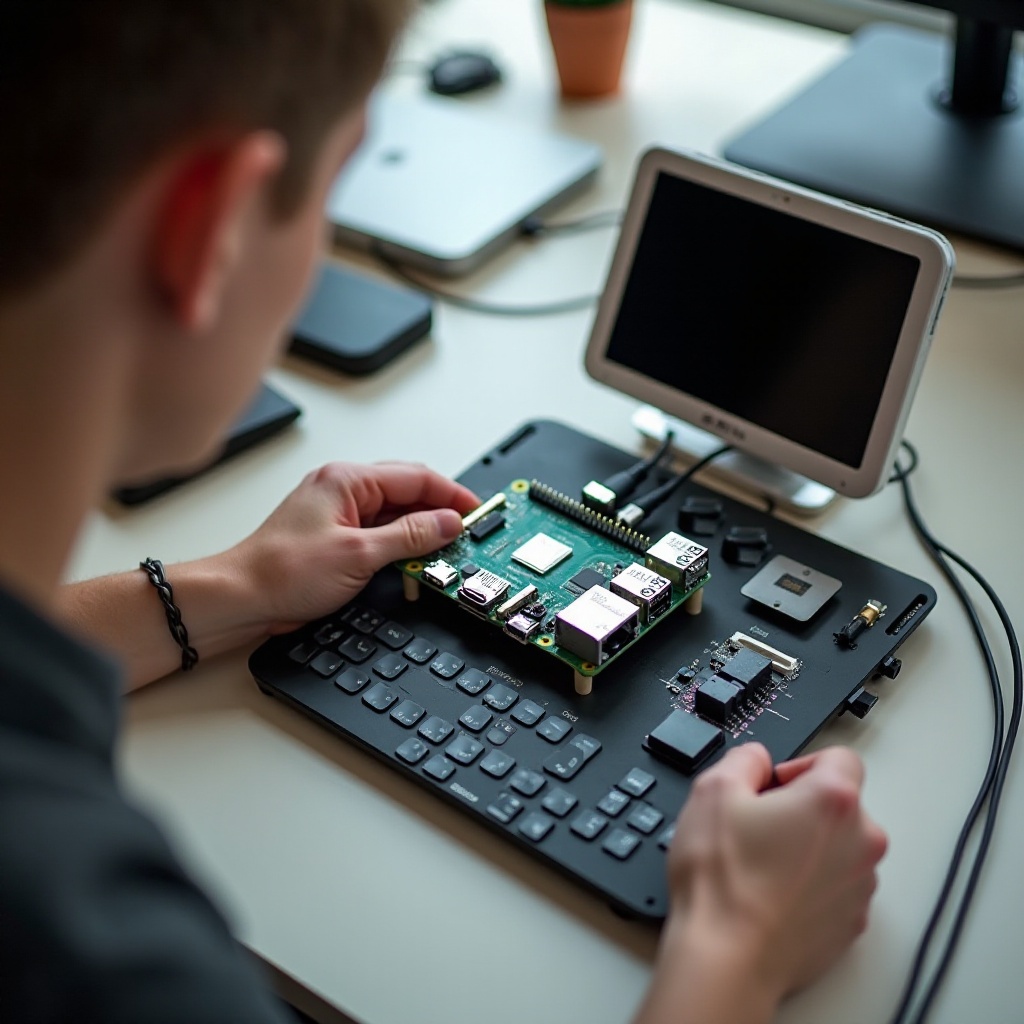
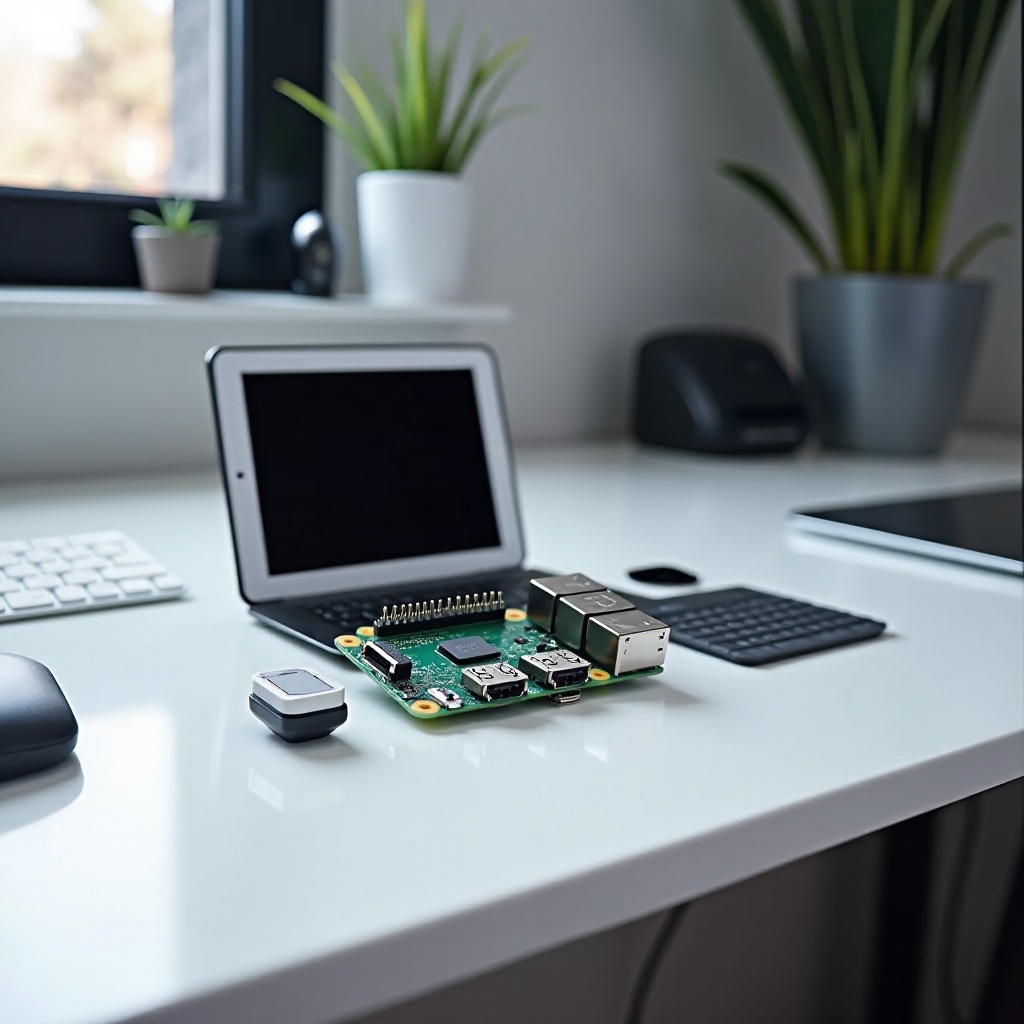
Putting together a portable Raspberry Pi computer requires more than just the board itself. Here is a list of essential components: 1. Raspberry Pi board: Choose the model that suits your requirements. 2. MicroSD card: A minimum of 16GB capacity is recommended for the OS and software. 3. Power supply: A reliable power source, such as a 5V 3A adapter. 4. Display: A portable screen, such as a 7-inch HDMI display. 5. Keyboard and Mouse: Compact, wireless options are ideal for portability. 6. Case: A durable case to protect the Raspberry Pi and components. 7. Cables and connectors: Including HDMI and USB cables for connectivity. With these components in hand, you're ready to proceed to the setup phase.
For true portability, a battery pack is essential. Options include: 1. USB power banks: Look for high-capacity banks with a 5V 3A output. 2. Custom battery packs: Designed specifically for Raspberry Pi, although these can be more expensive.
To maximize your Raspberry Pi's functionality, install the following software: 1. Web browser: Chromium or Firefox for internet access. 2. Office suite: LibreOffice for productivity tasks. 3. Media player: VLC for multimedia playback. 4. Code editor: VS Code for programming and development. These applications will transform your Raspberry Pi into a versatile computing device.
sudo raspi-config to access the configuration tool.Network Options and configure Wi-Fi settings by entering your network's SSID and password.Consider integrating additional components, such as: 1. Camera module: For on-the-go photography or video recording. 2. GPIO extensions: To expand the hardware capabilities for DIY projects.
Creating a portable Raspberry Pi computer is an enriching and practical project. By carefully selecting the components, setting up the OS, and ensuring reliable power, you can enjoy the convenience and versatility of a portable computing device. Dive into the world of Raspberry Pi to explore endless possibilities.
The Raspberry Pi 4 Model B is highly recommended due to its high performance and support for advanced features. The Raspberry Pi 400, with its integrated keyboard, is also a great choice for portability.
Battery life varies depending on usage and power capacity. Typical USB power banks can last between 4 to 10 hours, depending on their specifications and the power draw of connected peripherals.
Yes, the Raspberry Pi is capable of running various retro games and emulators. Install RetroPie or similar software to turn your device into a portable gaming console, although some games might have performance limitations.